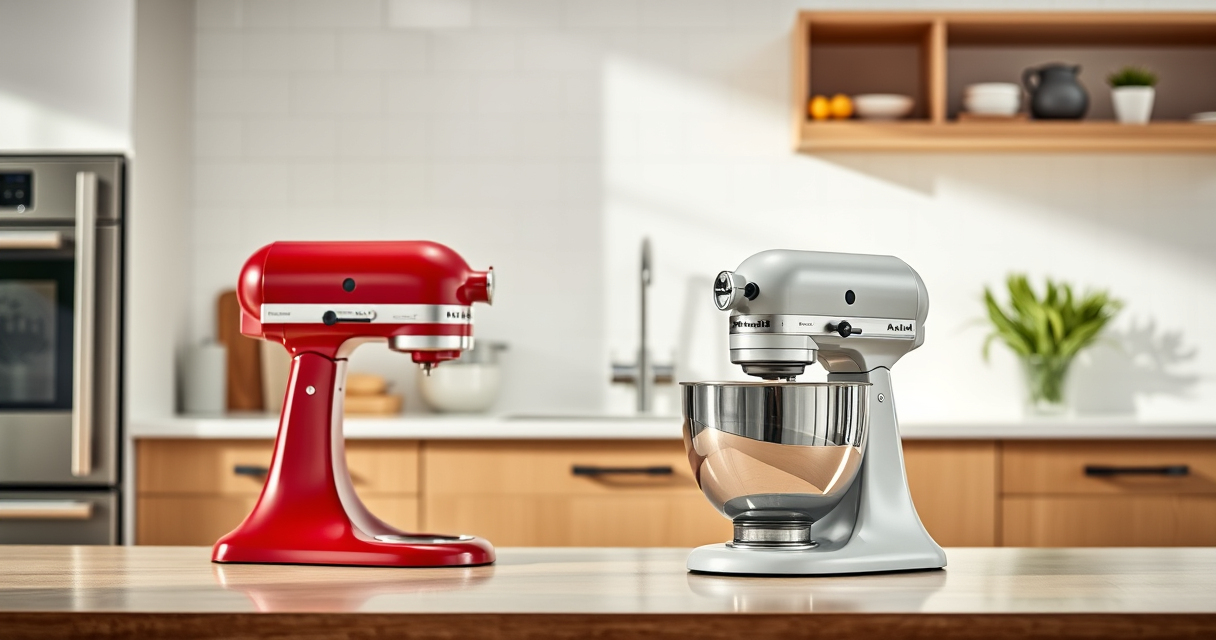

If your KitchenAid Artisan Series 5 Quart Tilt Head Stand Mixer is leaking oil, it can be concerning. Although these mixers are built to last, oil leaks can occur due to various reasons, often related to internal seals or lubrication issues. Addressing this problem promptly can prevent further damage and keep your mixer running smoothly.
Open a free Amazon Business account
Business pricing, bulk buying and tax-exempt orders.
Create a free accountAs an affiliate, we earn on qualifying purchases.
In this guide, you’ll find practical, step-by-step instructions to diagnose and fix common causes of oil leaks in your KitchenAid mixer. We’ll cover safety precautions, detailed repair steps, and helpful tips to ensure a safe and successful fix.
Key Takeaways
| Common Cause | Seal or gasket failure often causes oil leaks. |
| Safety First | Always unplug the mixer before starting repairs. |
| Tools Needed | Basic screwdrivers, cleaning cloth, and replacement seals. |
| Step-by-Step Fix | Disassemble, inspect, replace seals, and reassemble. |
| Prevent Future Leaks | Regular maintenance and careful use extend lifespan. |

KitchenAid Artisan, 5-Qt Tilt Head Stand Mixer, KSM150PS, Milkshake
- Durable Metal Construction: Built to last with 59 touchpoints
- 5-Quart Stainless Steel Bowl: Handles small or large batches, dishwasher safe
- Tilt-Head Design: Easy ingredient addition and access to bowl
As an affiliate, we earn on qualifying purchases.
Understanding Why Your Mixer Leaks Oil
Oil leaks in your KitchenAid stand mixer typically stem from worn or damaged internal seals, particularly around the gear housing or drive assembly. Over time, the constant motion and usage can cause seals to degrade, allowing oil to seep out. Additionally, overfilling or using the mixer improperly can increase internal pressure, leading to leaks. Recognizing the signs early—such as oil pooling at the base or on the motor housing—can help you address the issue before it worsens.

KitchenAid KSMMGA Food Grinder Attachment for All KitchenAid Stand Mixers
- Compatible with KitchenAid Mixers: Connects to all KitchenAid stand mixers
- Versatile grinding plates: Includes fine, medium, and coarse plates
- Sausage stuffer tubes: Comes with two sausage stuffer tubes
As an affiliate, we earn on qualifying purchases.
Preparing for the Repair
- Unplug your mixer and disconnect any attachments.
- Place a towel or a protective cloth under the mixer to catch any residual oil or debris.
- Gather necessary tools: screwdrivers, a clean cloth, replacement seals if needed, and safety gloves.
- Consult the user manual if available, to understand the specific disassembly points for your model.
Disassembling Your KitchenAid Mixer
- Remove the tilt-head lock and carefully tilt the head back.
- Unscrew the screws holding the top cover or casing, usually located at the base and sides.
- Gently lift off the cover to expose the gear housing and internal components.
- Inspect the seals around the gear housing and drive shaft for cracks, wear, or damage.
Replacing the Faulty Seals
- Remove the damaged seals using a flat-head screwdriver or a seal removal tool, being cautious not to damage the surrounding parts.
- Clean the sealing surfaces thoroughly with a cloth to remove old oil, debris, and residue.
- Install new seals, ensuring they fit snugly and are properly seated.
- Reassemble the casing in reverse order, tightening all screws securely but without over-tightening, which could damage the seals.
Final Checks and Reassembly
Once reassembled, plug in your mixer and run it at low speed for a few minutes. Check for leaks around the gear housing and other areas. If no oil escapes, proceed to use the mixer as usual but keep an eye on it during initial use. Regular inspection and maintenance can prevent future leaks.
The Products in This Guide

KitchenAid Artisan Series 5 Quart Tilt Head Stand Mixer
- ✔ Weight: 26 lbs
- ✔ Dimensions: 14.3 x 8.7 x 14.6 inches
- ✔ Power: 325 watts

KitchenAid Stand Mixer Attachment
- ✔ Weight: 4 lbs
- ✔ Dimensions: 7 x 5 x 8 inches
- ✔ Warranty: Limited
KitchenAid Artisan Series 5 Quart Tilt Head Stand Mixer
<p>The KitchenAid Artisan Series 5 Quart Tilt Head Stand Mixer is built with durable metal construction and features 59 touchpoints for great mixing results. Its tilt-head design provides easy access to the bowl, making it user-friendly for various recipes. While generally reliable, occasional internal seal issues can cause oil leaks, which this guide helps you address.</p>
Pros:
- Sturdy metal construction
- Easy tilt-head access
- Multiple color options
- Powerful 10-speed motor
Cons:
- Potential internal seal wear
- Oil leaks if seals degrade
- Requires disassembly for repairs
Best for: Home bakers and cooking enthusiasts needing a reliable, stylish mixer.
Not ideal for: Heavy-duty professional use where frequent disassembly is necessary.
Bottom line: A durable mixer with occasional seal issues that can be fixed with proper troubleshooting.
KitchenAid Stand Mixer Attachment
<p>This metal food grinder attachment connects seamlessly to your KitchenAid stand mixer, allowing you to create fresh ground meats, vegetables, and more. It is a valuable addition for those who want versatility and control over their ingredients. Using this attachment can also help reduce the need for disassembly of your mixer for minor tasks.</p>
Pros:
- Versatile grinding options
- Easy to attach/detach
- Stainless steel construction
- Includes multiple grinding plates
Cons:
- Additional cost
- Requires cleaning after use
- Attachment sold separately
Best for: Home cooks who want fresh ground ingredients and added kitchen versatility.
Not ideal for: Those seeking an all-in-one appliance or minimal kitchen accessories.
Bottom line: A practical attachment that expands your KitchenAid mixer’s functionality.
Frequently Asked Questions
Why is my KitchenAid mixer leaking oil?
Oil leaks are usually caused by worn or damaged internal seals, such as around the gear housing or drive shaft. Over time, these seals can degrade, especially with heavy use or improper operation.
Can I fix an oil leak myself?
Yes, with some basic tools and careful disassembly, you can replace the faulty seals. Follow safety precautions, and refer to your model’s manual for guidance.
Is it safe to run my mixer after fixing a leak?
Absolutely, but make sure the seals are properly installed and the mixer is reassembled correctly. Run the mixer at low speed initially to check for leaks.
How often should I inspect my mixer for leaks?
Regularly inspect your mixer after a few months of use, especially if you notice any oil pooling or unusual noise. Early detection helps prevent further damage.
What maintenance can prevent future leaks?
Avoid overfilling the bowl, keep the mixer clean, and periodically check seals and moving parts. Proper storage and gentle use extend the lifespan.
Keeping Your KitchenAid Mixer Running Smoothly
Addressing oil leaks in your KitchenAid stand mixer doesn’t have to be daunting. With the right tools, a little patience, and careful following of repair steps, you can restore your mixer to peak performance. Regular maintenance and proper use will help prevent future issues, ensuring your favorite kitchen companion lasts for years to come.
Affiliate disclosure: As an Amazon Associate we earn from qualifying purchases. Prices and availability are accurate as of the time of publishing.
Summer Picks
summer essentials
As an affiliate, we earn on qualifying purchases.